Photoshop is all about manipulating images. All the aspects of an image, be it color, brightness, saturation or even size, can be fiddled with in Photoshop. But the most basic step towards playing around with images is the selection of the image or the part of the image that needs to be edited. In this article, we are going to check out different ways of selecting an image (or a part of it). There are a ton of ways but we are going to take a look at the most important and practical ones. It is a beginner level article and you don’t need any particularly advanced skill set to understand this article.
-
The Marquee Tool
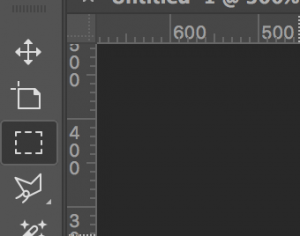
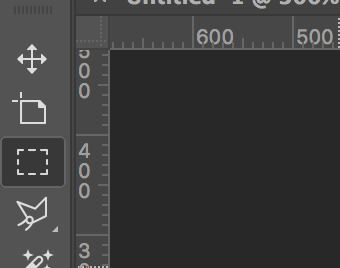
It is the most basic way to select an image. The Marquee tool is present in the Tools Palette. To select an area of the image, just click and drag over the area that is to be selected. By default, the Marquee Tool selects a rectangular area. There is also a circular/oval variation. In the previous versions, it could be selected using (Shift + M) but in the later versions of Photoshop, it has been moved to the extended Toolbar.
Using this tool, a well-defined square/rectangular or circular/oval area could be selected. The various controls for this tool, including ration, feather and masking can be found at the top in the Options area.-
The Quick Selection Tool
 It is an advanced form of the marquee tool. It is also based on the Click-Drag mechanism. It detects the colors in the image and automatically selects the desired object based on color and definitions.
It is a great tool if you want to select backgrounds in an image but the main drawback is the accuracy. It is based on the understanding of Photoshop about the objects and colors in the image and it might not always be accurate.
Personally, I avoid using this tool as more often than not, it gives undesirable results and causes more problems than it solves. The controls for this tool include brush size, sampling (whether to check a single layer or all layers) and many others. Presets can be saved for this tool in case you want to get back to a desired setting. Check out this Photostick Review to be able to store all your photos on a single backup device.
-
-
The Magic Wand Tool
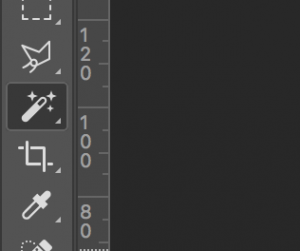 The Magic Band Tool is a Shorthand for the Quick Selection Tool (It can also be called as the Quicker Selection Tool). It basically performs the same function as the quick selection tool but in this case, there is no need to Click and Drag. You just need to click and VOILA! Everything Photoshop considers as a single enclosed object would be selected.
Again, this tool is not very accurate and can cause problems. This tool is very useful for manipulating the backgrounds of the images. Magic Wand is better than the Quick Selection in one more aspect – the Sample Size. Whenever an area is to be selected, Photoshop automatically takes a sample of a specified area and based on its value and the Tolerance, selects the area it sees fit. It is a bit more flexible than the quick selection tool and is definitely an upgrade from it. -
The Quick Mask Mode
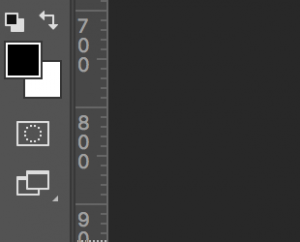 One of the easiest methods to select a Custom Area is the Quick Mask Mode. It is just basically painting over the area you want to be selected.
Select the layer whose area is to be selected. Select the Quick Mask icon or use the Keyboard Shortcut (Q) to enable the Quick Mask Mode. Once selected, you will be working in Quick Mask Mode. Just paint over the area you want selected using the Brush Tool(B). A red tint will start appearing over the painted area. This red tint is a shout-out to the artists in olden times when artists used to cover portions of their work with Red Transparent Material (Rubylith) during Airbrushing.
After you are done painting over the area you want selected, just exit the Quick Mask Mode. The painted area will be selected. This is a pretty powerful method of selecting objects which brings us to our next method. -
The Good Ol’ Click
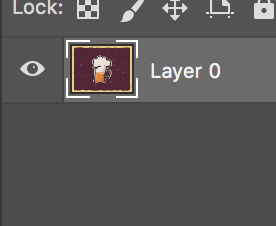 This is perhaps the most basic method of selecting content. Just a Single Click. Just press Cmd/Ctrl and click on the thumbnail of the layer whose content you want selected. It will select the contents of the layer. Ctrl/Cmd basically works as an addition function. The number of thumbnails you click while holding the Ctrl/Cmd key, it will add to the selection. Alt key works in reverse. It subtracts the selected area.
Going by the traditional route, right-click on the thumbnail and select the ‘Select Pixels’ option. It will select the contents of that layer. This is also applicable to Layer Masks. A straight-forward method, used to select the contents of a whole layer but fails in case of custom selections. Custom Selections are not possible using this shortcut method. Only a complete layer can be selected using this method. -
The Type Mask Tool
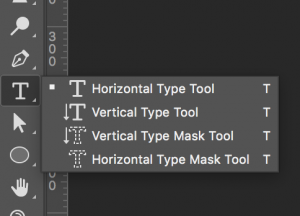 You must have seen those images in which an image is clipped by the text. The image is visible only on the text and nowhere else. It is thanks to the type mask tool. Well, there are another 100 ways in Photoshop to achieve such an effect but here, we are focusing on the Type Mask Tool. If you want a selection in the shape of text, look no further than the Type Mask Tool.It is present below the Type Tool and is available in two version – Horizontal Type Mask and Vertical Type Mask. It is based on the concept of Quick Mask Mode. Just select the Type Mask Tool and click anywhere on the canvas, a red tint will appearing suggesting the Quick Mask Mode. Start typing and after you finish, press Cmd/Ctrl + Enter. The text willl transform into a selection. You can do whatever you desire with this selection.
 -
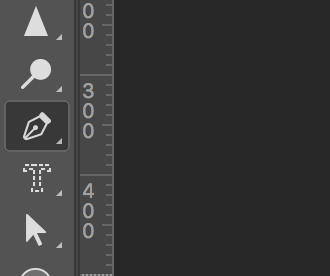
The Pen Tool
 I consider this the best way of selecting a custom area in Photoshop. It provides the highest degree of accuracy. What you have to do is trace the area you want selected in the image using the Pen Tool. After you have traced the complete area, just Right-Click and select ‘Make Selection…’. A dialog-box will appear asking for feather and other settings. Set it according to your requirements and click OK. The traced area will be converted into a selection with the highest accuracy possible.
This method is a time-consuming one as in case of complex shapes, it can take a long time to trace them. Also, you need to be adept at using the Pen Tool which can take some time. -
The Color Range
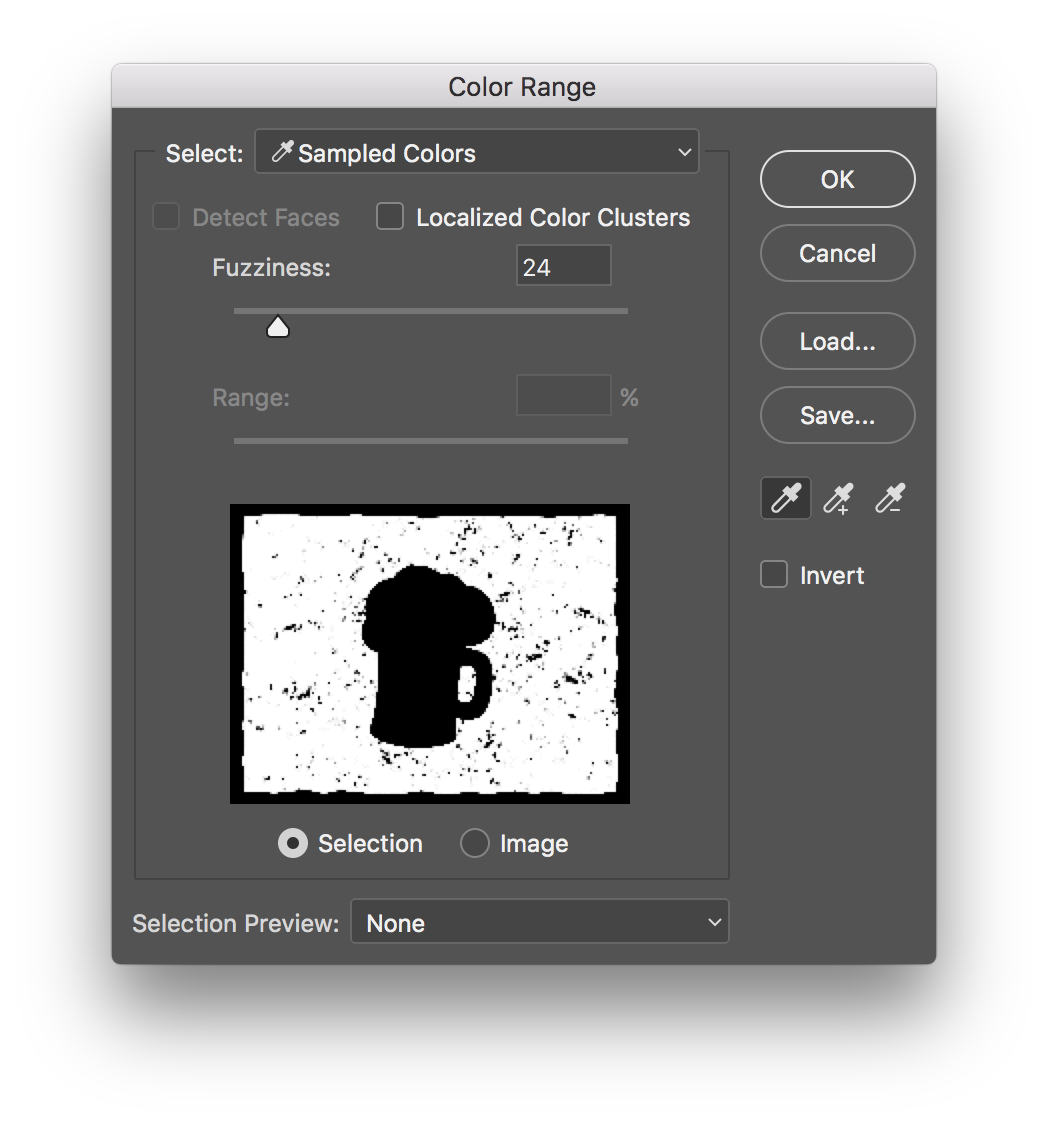
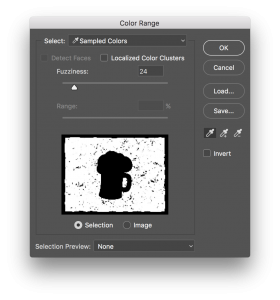 Now, we head into the ‘Select’ Menu Option. The Color Range Option is used to select various areas of an image based on the color in that image.
Go to Select > Color Range. A dialog-box will appear with different options. Without going into much detail (as it is an article in itself), understand that the selection can be made on the basis of color. To the right, there are 3 dropper icons with the first one selected. This icon is used to sample the image. Just click on the image and it will automatically select the colors similar to that color. Although, this variation in colors can also be controlled using the ‘Fuzziness’ scale. The higher the fuzziness, the larger the color range. This tool is extremely helpful while making delicate selections such as hair which cannot be made using any other tools. There are many more options in the ‘Color Range’ Dialog-Box which I leave it up to you to explore.


So, there it is! These were the most Important Selection Tools which are used frequently in Photoshop. Obviously, this list is not at all exhaustive and there are plenty more Tools and methods for selecting areas in Images. But, I consider these the most important and practical ones. What do you think about this list? You feel I left some of the important ones. Feel free to share your thoughts in Comments.